Share

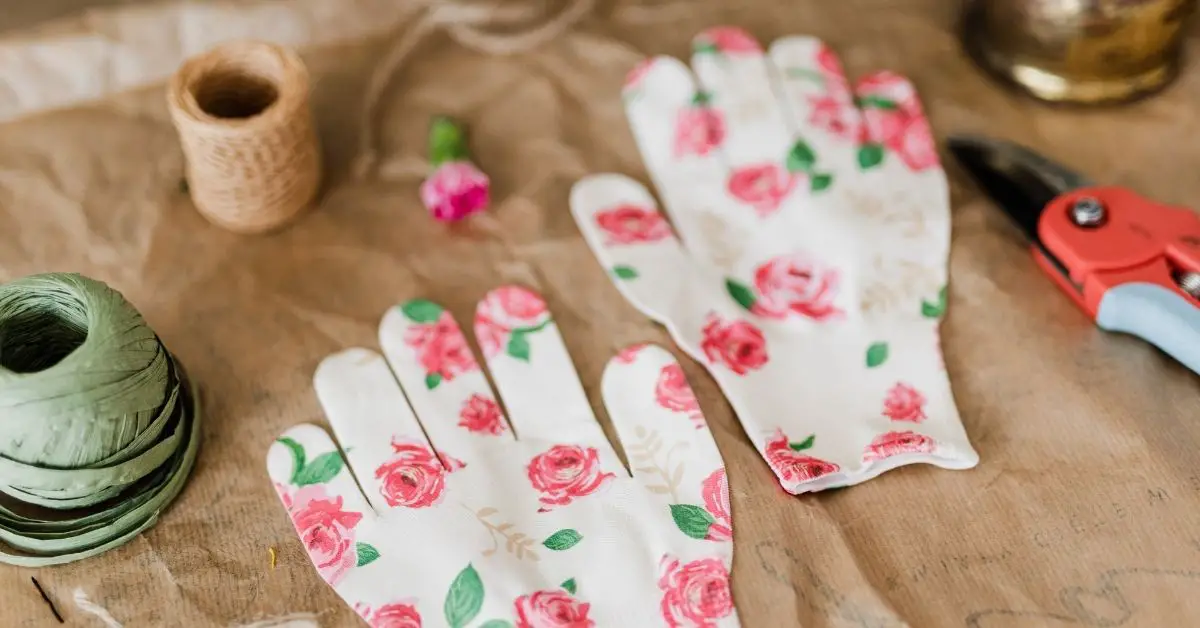
Whether it is due to holes in the fingers or tears on the palms, there are five easy ways on how to fix your garden gloves so you no longer have to throw them out.
With Spring just around the corner, many people will be starting to clean up their gardens and lawns. With all of this work comes a lot of gloves! If you are like me, you might have some old gardening gloves that need to be fixed before they can be used again.
How to Fix Your Garden Gloves in 5 Easy Ways
1. Use a Rubber Band
If your button or strap is not working, try using a rubber band to keep the gloves together. If you use an old pair of gardening gloves that do not have any elasticity left in them, this can be a great way to make sure they don’t break apart while you work. Simply place the rubber band around the glove and make sure it is tight. The rubber band will keep the glove intact until you can repair or replace them.
2. Use a Sewing Machine
If you need to repair your gloves, consider using a sewing machine for this task. Many stitches can be used for simple repairs, such as fixing the strap or button.
If your glove is ripped but still useable, simply turn it inside out and sew it back together with straight stitching until the rips are no longer visible on either side of the material. You should always try to get rid of any loose threads by cutting them off as close as possible before turning the gardening gloves right-side out again and wearing them once more!
3. Use Needle and Thread
Another way to fix garden gloves is through needle and thread work; however, this method takes some time because there will not be a quick fix. If you have a sewing kit, this is the perfect way to go! You can use a running stitch or whipstitch to close up any tears in the fabric and make it look as good as new again.
4. Duct Tape
If all else fails, duct tape can be used as an emergency measure to hold your gloves together until they can be fixed properly. Simply wrap the tape around the gloves tightly and it will keep them together until you have time to sew them back up or replace them altogether.
5. Buy New Gloves
If you do not have time to fix your gardening gloves, simply purchase a new pair and know that they will last much longer than the previous one! It is important to keep this in mind because it can be frustrating when items break down after only a few uses.
However, many cheap garden gloves are available online or at big box stores such as Walmart that offer great quality for an affordable price. You could also ask around with friends and family members if any of them have extra pairs from past seasons laying around- chances are someone does!
Common Problem With Garden Gloves
1. The gloves constantly slip off your hands.
One of the most common problems with gardening gloves is that they constantly slip off your hands. This can be really frustrating, especially when you are trying to do a task that requires dexterity.
2. The gloves are too tight and pinch your hands.
Another common problem with gardening gloves is that they can be quite tight, which can lead to discomfort and even pain in your hands.
3. The gloves don’t fit your hands.
The third and final common problem with gardening gloves is that they simply do not fit your hand properly, leading to aching in the glove of part of your body after you wear them for long periods of time. At this point, it may be worth finding another pair of garden gloves from amazon or elsewhere.
4. The fabric of the glove has ripped.
The final common problem with gardening gloves is that they can rip quite easily due to being made from thin or poorly constructed material, which causes them not to be very durable.
This means you might have to replace your garden gloves more frequently than you’d like! Fortunately, there are some simple DIY ways for how to fix a pair of garden gloves without having to buy new ones.
Suggested Post
- Where to Get Gardening Supplies: 6 Places to Get the Best Prices
- Can We Do Gardening At Night: 8 Things You Should Consider


0 Comments