Share

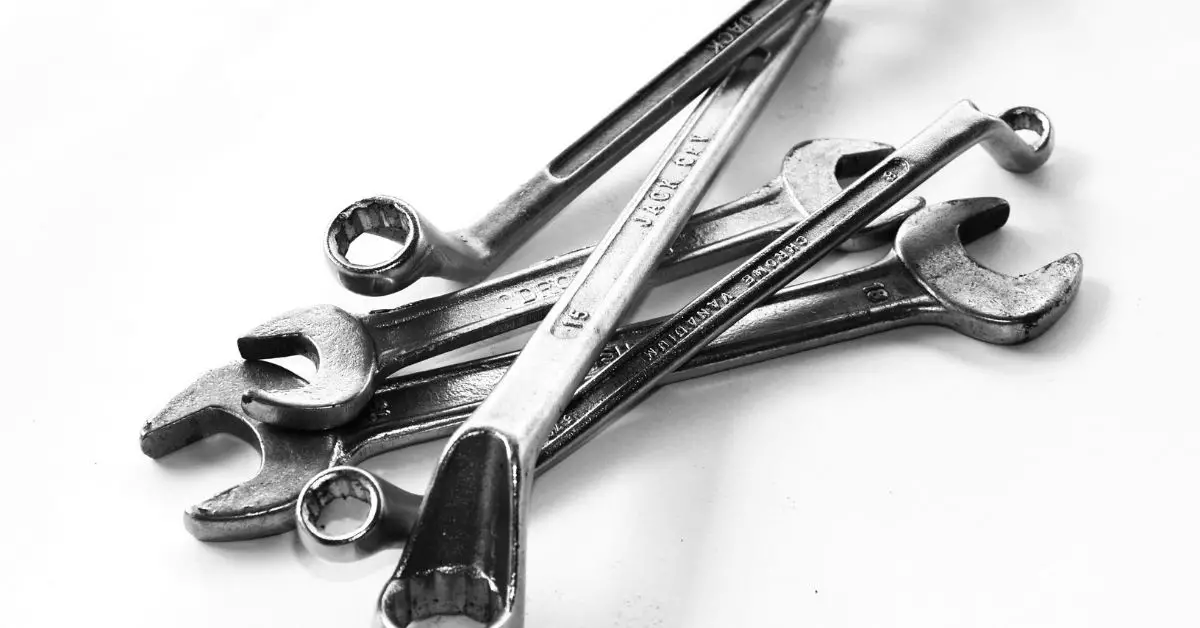
Here are 6 steps on how to organize wrenches and sockets so they’re easy to find! Every mechanic needs to be able to quickly find the right wrench or socket when they need it. This is especially important for mechanics who work on high-performance cars and bikes with lots of bolts and fasteners.
How To Organize Wrenches And Sockets
Step 1: Find Something To Organize
The first thing you need to do in order to organize your wrenches and sockets is find something in which they can be organized. There are a number of different options that will work, but the most common one involves using a tool box or cabinet.
This provides an enclosed space for all of your tools as well as a place where each wrench and socket has its own spot so nothing gets lost or mixed up with any other pieces. If this isn’t possible, there are still several ways through which you can keep everything together without having anything get misplaced or disorganized.
Step 2: Separate And Group Different Size Wrenches And Sockets
Once you have found some boxes/cabinets/containers for your tools, the next step is to separate and group your different size wrenches and sockets. This can be done in a number of ways, but one of the most common is to have all of the metric sockets together as well as all of the standard/inch sockets.
The same goes for wrenches – you can either put them in order by size or type (open-ended or box). If everything is separated and organized this way, it will make finding what you need much easier and quicker when you’re working on a project.
Step 3: Label Each Container
When everything has been sorted and placed into designated boxes/containers, the next step is to label each one accordingly.
By this, you’ll always know where every wrench and socket is and there will be no need to search through different containers in order to find the tool you’re looking for. This is especially helpful if you have a lot of tools or if more than one person will be using them.
Step 4: Place Wrenches And Sockets In Their Respective Positions
Once everything has been labeled, the next step is to place each wrench and socket into its respective position.
This can be done by size or type, but it’s important that everything is placed in an easily accessible spot. If possible, try to keep like with like as this will make finding what you need even easier.
Step 5: Keep Everything Clean And Tidy
The last step in organizing your wrenches and sockets is to make sure that everything stays clean and tidy.
This means keeping the surfaces of each container as well as your work area completely free from any dirt or debris, especially those which may have come off of a tool. If there is anything on the tools themselves, wipe them down with a cloth before placing them into their designated containers.
Step 6: Place The Tools In An Out Of The Way Location
Lastly, once you’ve organized all of your wrenches and sockets it’s best to keep them in an out-of-the way location where they won’t get lost again but will still be easily accessible if needed for future projects around the house or workplace.
Just remember to refresh yourself on exactly how you got things so neatly put together next time you’re looking for a wrench or socket in the middle of a chaotic project!
By following these simple steps, anyone can organize their wrenches and sockets quickly and easily. Not only will this make it easier to find what you need when working on a project, but it will also keep everything clean and tidy so nothing gets misplaced or lost.
And who knows – maybe taking the time to properly organize your tools will inspire you to tackle that next home improvement project with ease!


0 Comments